REFRIGERANT SEALER ON THE MARKET
AC SEAL
Refrigeration Xpress Inject
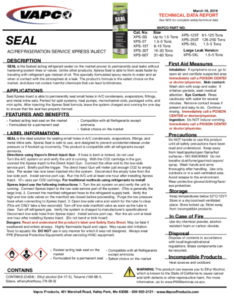
XPRESS SEAL is proven to safely and permanently seal leaks faster without complications. Unlike other products, Xpress Seal starts working immediately by traveling with refrigerant opposed to traveling with the oil like other brands. This specially formulated sealant only reacts when it comes in contact with air, water and pressure change when exposed to the atmosphere at the site of a leak. The product’s formula is the safest choice on the market it will not damage compressors, valves, TXV’s or gauges.
FEATURES & BENEFITS
- Fastest Acting Leak Sealer on the Market
- Formulated for a Permanent Seal
- Safest Choice on the Market
Compatible with all refrigerants, excluding ammonia.
PART NUMBERS & SIZES
- XPS-SS Up to 1.5 Ton
- XPS-5T 1.5-5 Ton
- XPS 10T 2-10 Ton
- XPS-15T 6-15 Ton
- XPS-30T 16-30 Ton
- XPS-60T 31-60 Ton
- XPS-125T 61-125 Ton
- XPS-250T 126-250 Ton
GENERAL GUIDELINES
Wear appropriate protective clothing and gear: closed-toed shoes, long sleeves, chemical resistant gloves and safety glasses.
Directions:
TRADITIONAL METHOD:
1. Turn the a/c system on and verify the unit is running. Connect Xpress Inject to the low-side service port of the system. (This is generally the large line).
2. Connect the manifold refrigerant hose to the refrigerant supply tank. Verify the high and low side valves on the manifold are closed before proceeding. Purge the low-pressure hose when connecting to Xpress Inject.
3. Open the low-side valve and watch for the tube to clear. (This will ONLY take a few seconds!) Turn off the low-side manifold valve as soon as the tube is clear. Turn off refrigerant gas. Verify the system is charged to the manufacturer’s specifications! Disconnect low-side hose from Xpress Inject. Install service port cap. Run the a/c unit at least one hour after installing Xpress Inject. (Do not bend or kink hose!)
DIRECTIONS FOR DIRECT INJECT HOSE:
Turn the A/C system on and then check to see if the compressor is on and the system is fully charged.
- First, ensure the ball valve is closed before attaching the “A” side of the hose to the high-pressure service port.
- Then, barely thread the male end of the injector tube to the “B” side of the hose. Do not depress the valve. Next, crack open and close the ball valve to remove air from hose. Then, thread the tube into the “B” side of the hose.
- Connect the female end of the injector tube to the low-pressure service port and then open the ball valve. Let refrigerant flow through and then inject the product into the system. Close the ball valve and then disconnect the hose and injector from the unit.
- Remove the tube from the “B” side of the hose and open the ball valve to release charge. This prevents contamination.
Read and understand the product’s label and Safety Data Sheet. Be sure to wash hands thoroughly after handling.


